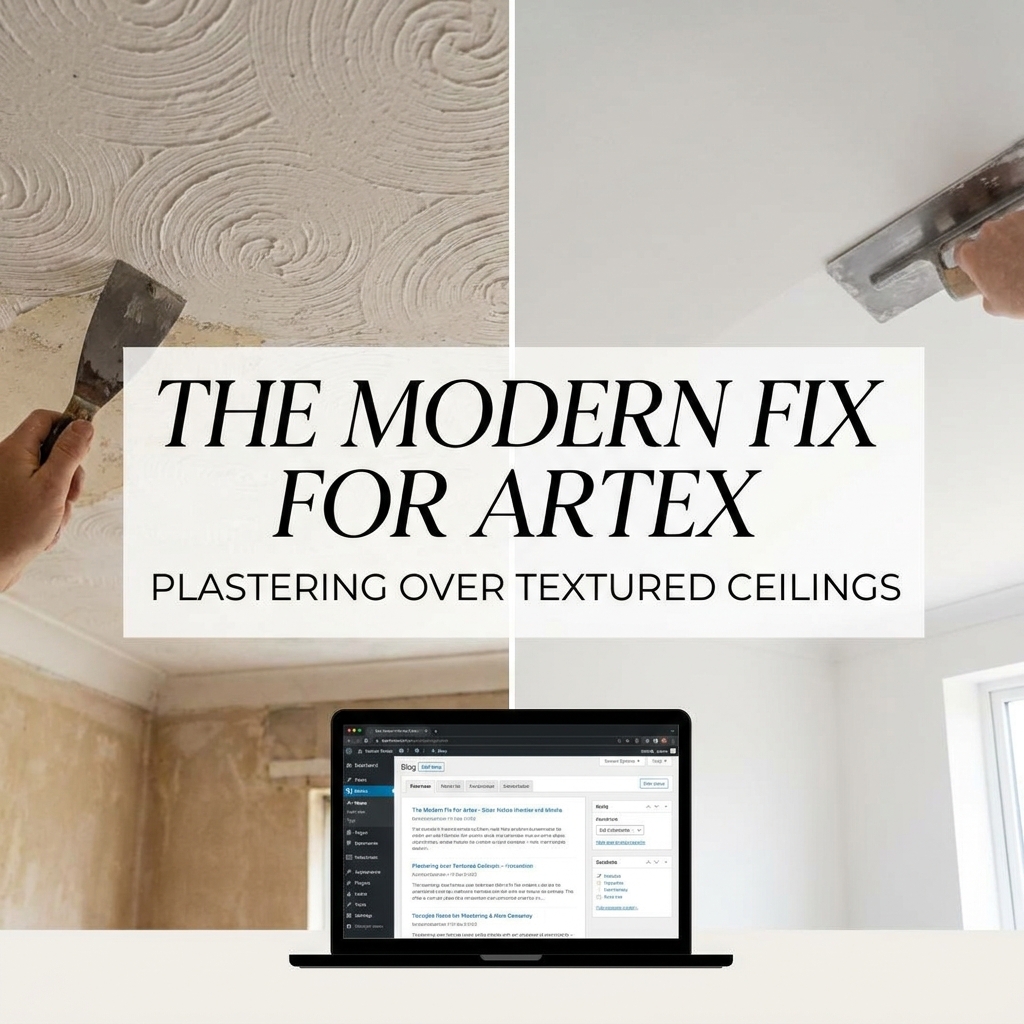
The Modern Fix for Artex: Plastering Over Textured Ceilings
Wander into a home built or renovated between the 1970s and 1990s, look up, and there’s a good chance you’ll be greeted by a textured ceiling. For decades, Artex was the go-to finish, prized for its ability to cover imperfections and its supposed durability. Today, however, those swirls, stipples, and fans can feel dated, trap dust, and make a room feel darker and smaller. If you're tired of this retro look, you're not alone. The good news is there’s a sleek, modern solution that doesn't always involve a messy and hazardous removal process: plastering over textured ceilings. This technique transforms your room, creating a smooth, flat surface that’s ready for a contemporary coat of paint, instantly boosting your home's appeal and value.
What Exactly is Artex, and Why Was It So Popular?
Before we dive into the fix, it helps to understand the problem. Artex is a trade name for a surface coating used for interior decorating, most often on ceilings. Its popularity soared because it was a relatively inexpensive and fast way for builders to achieve a textured finish that cleverly disguised uneven surfaces, hairline cracks, and imperfections in the underlying plasterboard or plasterwork. It was far quicker and required less skill than achieving a perfect, flat plaster finish.
The texture was applied as a thick paste and then worked into various patterns using combs, brushes, or sponges. Some of the most common patterns you might see in Warrington homes include:
- Stipple: A classic, almost spikey texture created by dabbing the surface.
- Swirl or Fan: A more decorative pattern created with a comb in sweeping motions.
- Broken Leather: A more random, mottled effect.
While effective for its time, interior design trends have shifted dramatically. Today, clean lines and smooth surfaces are highly desirable, making Artex a feature many homeowners wish to eliminate. But before you pick up a scraper, there's a critical safety issue you must address first.
The Asbestos Warning: A Critical Safety Consideration
This is the most important section of this article. Before any work begins on a textured ceiling, you must consider the possibility of asbestos.
Until it was banned in the UK in 1999, many textured coating materials, including Artex, contained a small amount of white asbestos (chrysotile). This was added to strengthen the material and improve its fire-retardant properties.
Is It Dangerous?
If the Artex is in good condition and left undisturbed, it is generally considered safe. The asbestos fibres are bonded within the material and cannot be inhaled. The danger arises when the material is disturbed, damaged, or broken. Activities like:
- Sanding
- Scraping
- Drilling
- Breaking or demolishing the ceiling
...can release harmful asbestos fibres into the air. Once airborne, these microscopic fibres can be inhaled and lead to serious, life-threatening lung diseases many years later. There is no safe level of asbestos exposure.
How to Check for Asbestos
You cannot tell if Artex contains asbestos just by looking at it. The only way to be certain is to have a sample tested by a UKAS-accredited laboratory. A professional can take a sample safely, or you can order a home testing kit that provides instructions on how to do it with minimal risk (though we always recommend professional sampling).
Given the age of much of the housing stock here in Warrington, if your home was built or decorated before the year 2000, it is safest to assume your textured ceiling contains asbestos until proven otherwise. This is why plastering over it is such a popular and safe method – it encapsulates and seals the potentially hazardous material behind a fresh, smooth layer of plaster without disturbing it.
The Process: How a Professional Plasters Over Artex
Skimming a ceiling is one of the most challenging plastering jobs, and doing it over an uneven Artex surface adds another layer of complexity. It's a true test of a plasterer's skill. Here’s a breakdown of how a professional tradesperson will tackle the job safely and effectively.
Step 1: Preparation is Everything
A flawless finish begins with meticulous preparation. This is what separates a professional job from a messy DIY attempt.
- Safety First: The first step is always to address the asbestos risk, as discussed above. If the Artex is confirmed to be asbestos-free, the plasterer may decide to lightly scrape off the highest points of the texture. This reduces the amount of plaster needed for the first coat, saving time and material. This should never be attempted if asbestos is present or suspected.
- Room Protection: The room will be completely protected. This means high-quality dust sheets covering all flooring and furniture, with edges taped down to prevent dust from creeping underneath.
- Surface Cleaning: The ceiling is thoroughly cleaned to remove any loose dust, grease, or cobwebs. A sugar soap solution is often used. This is vital for ensuring the new plaster adheres properly.
Step 2: Bonding and Sealing
You can't apply fresh plaster directly onto Artex. The existing surface is often painted, non-porous, and uneven, which provides a poor key for the new plaster. To solve this, a bonding agent is applied.
The plasterer will roll on a generous coat of a specialist plaster bonding agent, often called 'blue grit' or 'green grit'. This contains a fine aggregate suspended in a polymer emulsion. When it dries, it creates a rough, sandpaper-like surface that the new plaster can grip onto securely. Alternatively, a few coats of a strong PVA solution may be used, though specialist bonding agents are generally preferred for Artex.
Step 3: Applying the Skim Coats
This is where the real skill comes in. It’s typically a two-coat process:
- The First Coat (Scratch Coat): The plasterer applies the first, slightly thicker layer of multi-finish plaster. The main goal of this coat is to fill in all the low points of the Artex texture, creating a relatively flat base. It's worked into every nook and cranny to build up a level surface.
- The Second Coat (Finish Coat): Once the first coat has firmed up slightly, the second, thinner skim coat is applied. This is the finishing layer that will be trowelled to a perfectly smooth, flat finish. A skilled plasterer works quickly and methodically across the ceiling, keeping a 'wet edge' to avoid lines and imperfections.
It's worth noting that if lighting fixtures are present, they will need to be made safe and removed before plastering begins and reinstalled afterwards. This is a job that should always be handled by a qualified professional. If your renovation project requires electrical work, you can browse verified electricians near you on our directory.
Step 4: Finishing and Drying
The final stage involves using a clean trowel and water to 'polish' the surface as it sets, removing any minor imperfections and creating that sought-after glass-smooth finish. Once the plasterer is finished, the drying process begins. This can take anywhere from three days to over a week, depending on the thickness of the plaster, room temperature, and ventilation. The plaster will change colour from dark brown/grey to a light, uniform pink as it dries. It’s crucial not to try and rush this process with heaters, as it can cause cracking.
DIY vs. Hiring a Warrington Professional: A Realistic Look
With countless online tutorials, it can be tempting to consider plastering over Artex as a DIY project. We strongly advise against this for several compelling reasons.
The Case for DIY: The only real advantage is the potential saving on labour costs. That's it.
The Case for Hiring a Professional:
- Asbestos Safety: A professional knows how to assess the risk and proceed safely, whether that means encapsulation or recommending specialist removal. This is not a risk worth taking.
- Skill and Finish: Plastering, especially ceilings, is an incredibly difficult skill to master. It requires speed, precision, and physical stamina. An amateur attempt often results in a lumpy, uneven finish with trowel marks, which looks worse than the original Artex and can devalue your home.
- Tools and Materials: Professionals have the right tools (hawks, trowels, mixers) and know exactly which bonding agents and plaster to use for a durable, long-lasting finish.
- Time and Mess: A professional plasterer can skim a standard room in a day. A DIY attempt could take a whole weekend and create far more mess. They are also adept at containing the mess within the work area.
Ultimately, a poorly plastered ceiling will need to be fixed by a professional anyway, costing you more in the long run. To guarantee a safe and beautiful result that will last for years, it's always best to find a vetted professional plasterer in Warrington.
Costs and What to Expect for Your Warrington Home
The cost of plastering over an Artex ceiling can vary based on several factors. It's always best to get at least two or three quotes from local tradespeople.
Key Factors Influencing the Cost:
- Room Size: This is the biggest factor. Costs are often calculated per square metre.
- Ceiling Height: Higher ceilings may require scaffold towers, adding to the time and cost.
- Depth of Texture: A very deep, spikey Artex texture will require more plaster and labour to cover than a light texture.
- Condition of the Ceiling: If there are cracks or damage that need repairing before plastering can begin, this will add to the cost.
- Location: Labour rates can vary slightly across different parts of Warrington and Cheshire.
Estimated Costs
As a rough guide for 2024, Warrington homeowners can expect to pay approximately £350 - £500 to plaster over the Artex on a small-to-medium-sized ceiling (e.g., a bedroom of 3m x 4m). For a larger living room ceiling (e.g., 4m x 5m), the cost might be in the range of £450 - £650. These prices typically include all materials and labour for the plastering job itself.
Remember that this doesn't include the cost of painting afterwards. Once your beautiful new ceiling is fully dry and has been sealed with a 'mist coat' (a watered-down coat of matt emulsion), it's ready for its final colour. If you're not a keen decorator, our directory can help you connect with top-rated painters and decorators to provide that perfect finish.
Conclusion: A Smooth Transition to a Modern Home
Plastering over Artex is more than just a cosmetic upgrade; it's an investment in your property. It removes a dated feature, creates a brighter and more spacious feel, makes the room easier to clean, and adds tangible value to your home. While the asbestos risk is a serious consideration, the method of plastering over (encapsulation) provides a safe, efficient, and highly effective solution.
Due to the safety concerns and the high level of skill required, this is one job that is unequivocally best left to the professionals. A local, vetted plasterer will give you a flawless, smooth ceiling that will serve as the perfect canvas for your interior design dreams for many years to come.
Enjoyed this article?
Need a Verified Tradesperson in Warrington?
Browse verified local professionals across Warrington & Cheshire. Compare reviews, check qualifications, and get free quotes.